Sunday, August 25, 2013

A "Dog Divided" Bandana Tutorial


Since our dog Rick is both an Alabama fan and a Michigan fan, I decided to make him a "dog divided" bandana.  I looked at a couple of tutorials online, but couldn't find one that showed how to use two different fabrics, so I just sort of winged it.  It took a little while to get it right, but eventually ended up with the perfect fit.


Step one is to pick out your two fabrics.  I ordered the Alabama fabric online and picked up the Michigan fabric at Jo-Ann's Fabrics in town.


First measure your dog's collar and double the length to make sure when you fold the fabric in half that you'll have enough room for the collar to fit through.  Also measure his back to get an idea for how big you want the bandana to be.


Next measure out the fabric to the correct length and stack the two fabrics on top of one another


Then cut the fabrics to match up exactly


Next you'll draw a diamond shape on the fabric with two straight sides.  The sides will be where the collar fits through. 


You'll start by drawing the two sides, then use a ruler or measuring tape to create the two triangles. 


Once you get the pattern down right, you can then begin to cut.  Make sure you cut through both fabrics.


Next, fold the fabric in half and match up the two straight sides.  Then, cut off any extra fabric that doesn't match up on the triangle part.


Then cut the two fabrics down the middle


Now unfold the fabric match up the two opposite sides.  You'll end up with patterns for two bandanas. 


The next step is to fold the long side of one of the fabrics and pin it.


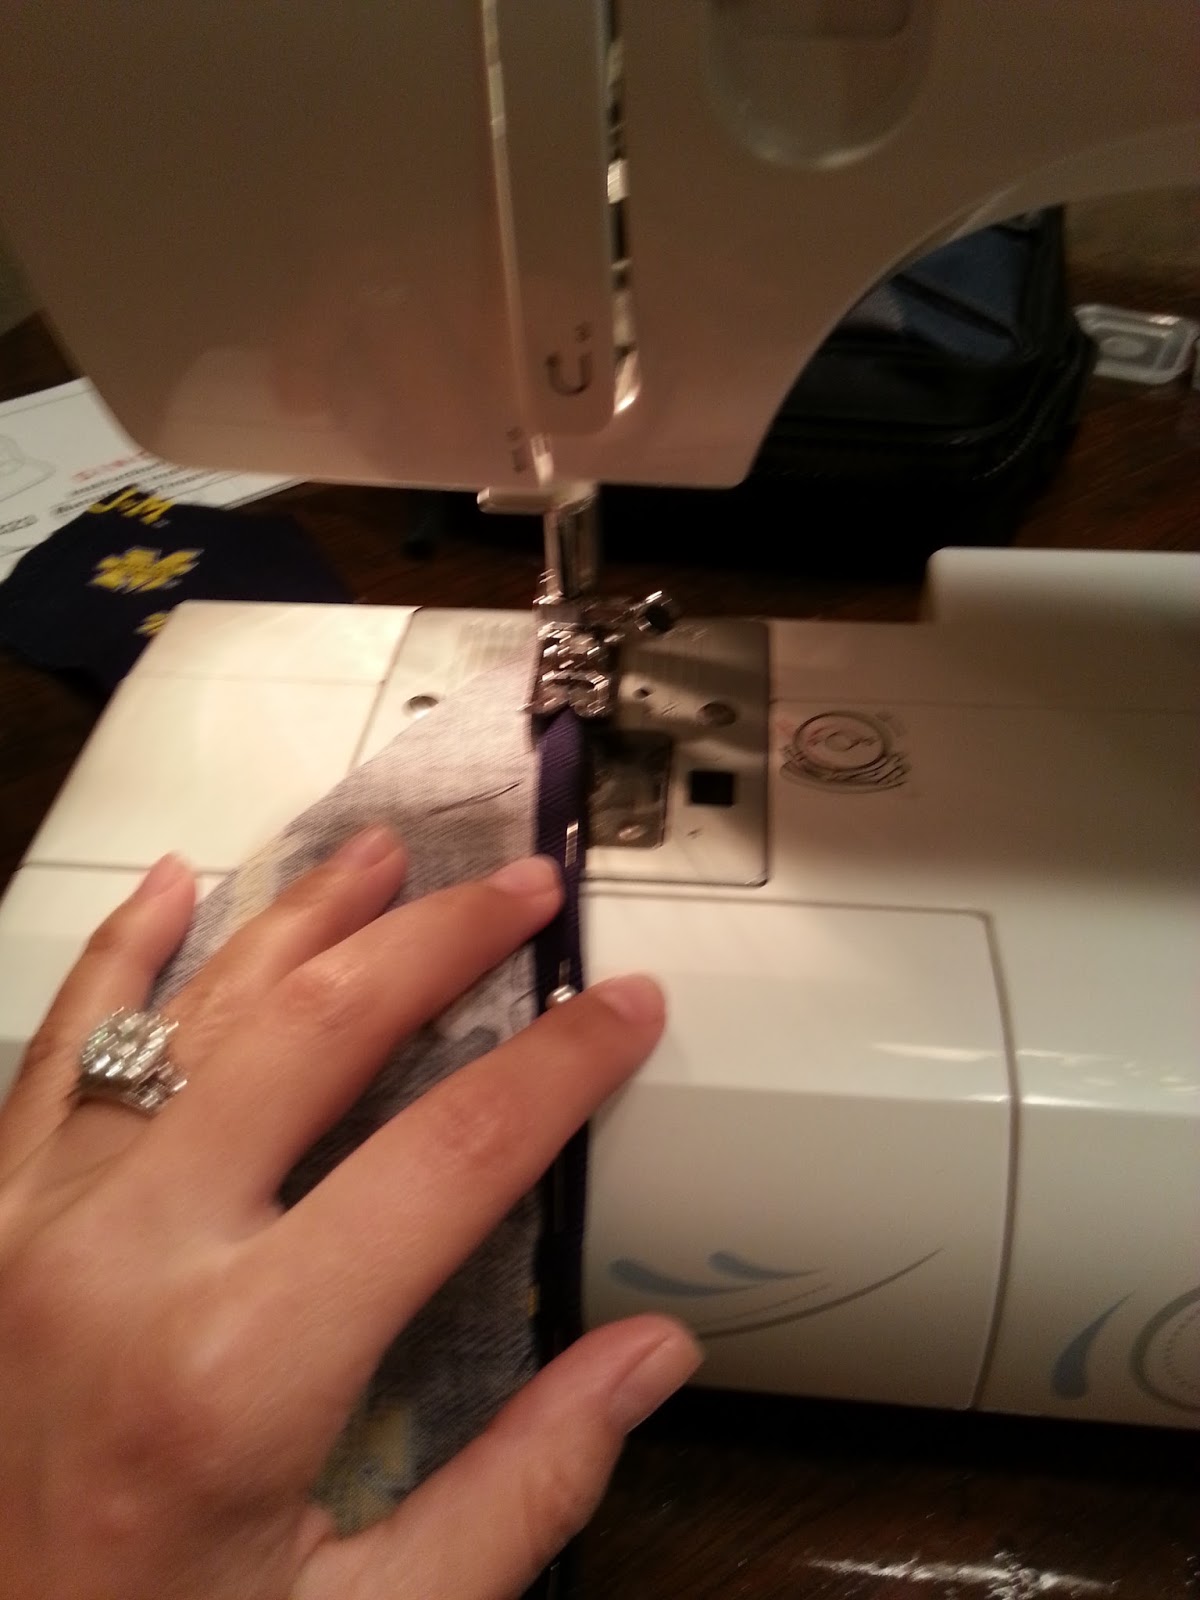
Then sew the middle fold


Now stack the side that you sewed on top of the other side and pin them together


Then sew the two sides together


 Next, fold both of the straight edges and pin them.


Then sew the two sides


This is how it will look when the two sides are sewn and the two sides of fabric are sewn together.


Next, fold the fabric in half with the pattern on the inside.  Then pin the two triangle sides, making sure leave the two straight sides open.  The sides need to stay open, because that will be where the collar will fit through.


 After you pin the two triangle sides, go ahead and sew them.  This is how it will look after it's been sewn.


Next, flip the fabric inside out through the open side.


Here's how the finished bandana will look!


Then slide the collar through the open side of the bandana and there you have it!  Now your dog is all ready for football season!


Wednesday, August 21, 2013

Brewery Tour and The Woodward Dream Cruise

This Saturday Kevin, Katie, Alex and I all went on a walking brewery tour of three breweries in Royal Oak, which was put on by Motor City Brew Tours.  We started out the day at the Royal Oak Brewery where we were given beer samples of each of the beers they make.  After sipping a few samples we were able to take a tour of the brewery.


The vat on the left is where the barley is dropped into after it is cleaned.  Then it travels through the blue thing on the right.

We ended up learning a lot about the brewing process and were told that it's standard practice to add hops to beer three times during the brewing process. So most all beer is "triple hops brewed," despite Miller Lite's advertisements. 

These are the containers where the finished beer is stored

Enjoying some beer samples
The usual suspects
After our tour at the Royal Oak Brewery we all walked over to Lockhart's BBQ for some pork and chicken sliders and a side of mac and cheese.  Our meal was part of the price of the walking tour.  Pretty sweet deal.


After lunch we walked to Bastone for another brewery tour and a beer sample.  We were surprised to find out that Bastone Brewery is the most awarded brewery in the state of Michigan!

Katie's on the left and mine on the right

Bastone beer list.  They also have awesome craft cocktails.

Yummy!


The last stop on our tour was Lily's Seafood Grill & Brewery.  Kevin and I had eaten here before when my mom was in town and we had no idea that it was also a brewery.  Their brewery has glass walls so everyone can see it when you are eating.  Pretty cool.  I wasn't a fan of the beer though, so I opted for their frozen drink special.


At Lily's

After Lily's we met up with my co-worker Amy and her husband Ryan to check out the Woodward Dream Cruise.  This was my very first Dream Cruise and I was really excited to check out all of the cool cars.  We walked up and down Woodward for about an hour and then grabbed some dinner at the Blarney Stone Pub.  It was very cool because inside the pub they had a closed circuit TV that showed live footage of the cars rolling up and down Woodward.

Paddy wagon


Very cool four person bike.  It was funny to see the people try to get down off of the bike!


This was the weirdest car I saw. It was completely chrome with the biggest tires/rims I've ever seen.  Then it had a TV that popped up from the trunk.  It was hard to get a good picture because so many people were crowded around it!


Tuesday, June 18, 2013

Sewing Curtains for the New Kitchen - A Step-by-Step Tutorial

Our new rental home's kitchen is a deep red and taupe and let's just say, red and taupe are not my favorite colors. So, I tried to think of ways to make it more "me" without painting the cabinets.

I decided to make some new curtains for the kitchen window and door.  I've made pillows in the past, but this would be my first time making curtains.  Here's a before picture of the kitchen and the fabric that was used on the kitchen window, kitchen door and the dining room window.

Kitchen cabinets, fabric on dining room window


The door on the left had the same fabric curtains as the kitchen window.  The window also has a top valance that you can't see in the photo.


This photo is really dark, but here's the top valance


First thing's first, I needed a sewing machine.  My mother-in-law didn't have one, so I had planned to try to borrow Kevin's aunt's sewing machine.  Next, I set out to Jo-Ann Fabrics Store to find the right fabric that would match the kitchen, but would also make it look more inviting and fun.  I ended up finding a really great fabric that was the perfect color to match the cabinets and was also "younger" looking.

While I was picking up the thread and fabric, I noticed that the store was having a two-day sale.  I took a look at the sewing machines and saw that they were all half price!  So, I decided to buy my very own Singer Sewing machine for half of the original cost!


Here's the step-by-step tutorial of how I made the curtains on my awesome new machine:

Step One - Measure the windows

Before cutting the fabric, I made sure to measure the windows and record the measurements.

Step Two - Measure the fabric

Next I measured the fabric and made sure I had extra length and width for a half-inch hem around the top and sides, a one inch hem at the bottom, and a two inch opening at the top for the curtain rod.
Measuring the width


Measuring the length


Step Three - Cut the fabric

Now it's time to cut the fabric.  Make sure to cut it at the correct measurement.  You don't want your curtains to be too long or too short.  I also made sure to cut off the edge that had the fringe.  Some people don't cut it off if it won't be seen, but I went ahead and cut it.

Cutting the fringe


 Step Four - Measure your hem and pin your fabric

I measured a half-inch hem around the sides and top of the curtain, and a one inch hem at the bottom of the curtain for a nice little detail.  Then I pinned the fabric a couple of inches apart.

Measuring the bottom


Pinning the bottom of the fabric


Measuring the hem on the sides of the fabric


Step Five - Iron your hem

Not everyone does this step, but I think ironing your hem helps you keep everything flat and straight when you start to sew.
 
Ironing the hem


Step Six - Sew your hem

Before sewing, you'll need to follow your machine's instructions on how to thread your bobbin and your needle.  After doing a quick test-run on a spare piece of fabric to make sure everything is working correctly with your machine, it's finally time to start sewing your curtains.  Go slow and pull out the pins as you guide the fabric through the machine.  Once you've come to the end, cut the thread and move on to the next side.  Then repeat the process. 

Sewing the bottom hem


Sewing the side

Cutting the thread


Step Seven - Iron your fabric

Next I like to iron the fabric again to make sure everything is smooth and ready for the remaining sides to be measured and pinned.  

Ironing the fabric


Step Eight - Repeat steps 4-7 on the remaining sides

Next, you'll measure and pin the remaining two sides, iron your fabric and sew the remaining hems.  repeat the process the same way until every side of your curtain has a nicely sewn hem.  

Step Nine - Measure and pin the top of your curtains 

I just went with your basic curtains, which have a solid opening at the top for the curtain rod.  Some people sew little loops along the top for the curtain rod, but I figured it would be easier to just sew one opening.  You'll need to make sure you have enough room at the top for whichever curtain rod you plan to use.  The ones for the kitchen window and kitchen door were very small, so I just created a two inch opening.   


Measuring the opening at the top

Pinning the top opening for the curtain rod


 Step Ten - Sew the opening for the curtain rod

Follow the same directions as Step Six.


Here's the finished kitchen door curtain

Here's the finished curtain on the new door!


I followed the same process for the kitchen window valance


Here's the finished kitchen window valance!